1968 Chevy Camaro Restomod: A Ground-Up Body-Off Build Case Study What is the best way to handle a complete restomod assembly on a 1968 Chevy Camaro?
The most effective methodology for a premium 1968 Camaro restomod build requires a complete frame-off disassembly, stripping the structural sheet metal to bare white metal, and executing an extensive mock-up phase to verify drivetrain clearances before final paint.
This precise system eliminates historical factory tolerances and ensures that modern performance components integrate seamlessly with vintage muscle car architecture.
- Project Focus: Ground-Up Restomod Transformation & Complete Metal Remediation.
- Facility Tooling Utilized: High-capacity vertical air compressors, dry-media blasting booth, controlled down-draft paint booth, and precision frame alignment gear.
Phase 1: Separating Body From Subframe & Inspection
We initiated this build by completely stripping out the factory interior and mechanics, safely separating the main body shell from the front subframe assemblies. Decades of old undercoating were removed to look for stress points. The initial inspection caught localized metal oxidation along the floor pans and windshield channels—a typical weak point for the first-generation F-Body platform.
Phase 2: Bare-Metal Media Blasting & Precision Sheet Metal Flush-Welding
The entire body tub and subframe components were rolled into our blasting booth for thorough cleaning down to factory-raw steel.
- Rust Elimination: Compromised original floor pan sections and weak channels were cleanly cut out using plasma tooling.
- Fabrication & Fitment: We fabricated and flush butt-welded clean, factory-correct replacement panels into position. Every weld line was ground smooth and metal-finished to match original structural contours flawlessly before being sealed in direct-to-metal epoxy primer.
Phase 3: High-Performance Drivetrain Mock-Up & Plumbing Integration
To prevent panel scratches or alignment reworks later, we executed a complete mechanical mock-up phase:
- Powertrain Setup: The small block Chevy powertrain and transmission package were temporarily set into the frame rails to verify tight firewall and transmission tunnel clearances.
- Custom Fabrication: We integrated custom firewall details and fabricated robust mounting solutions to handle modern high-performance demands.
- Plumbing: Rigid fuel lines and modern brake configurations were custom-bent and hard-routed along the subframe layout.
Phase 4: Block Sanding, Premium Paint Coating, & Final Assembly
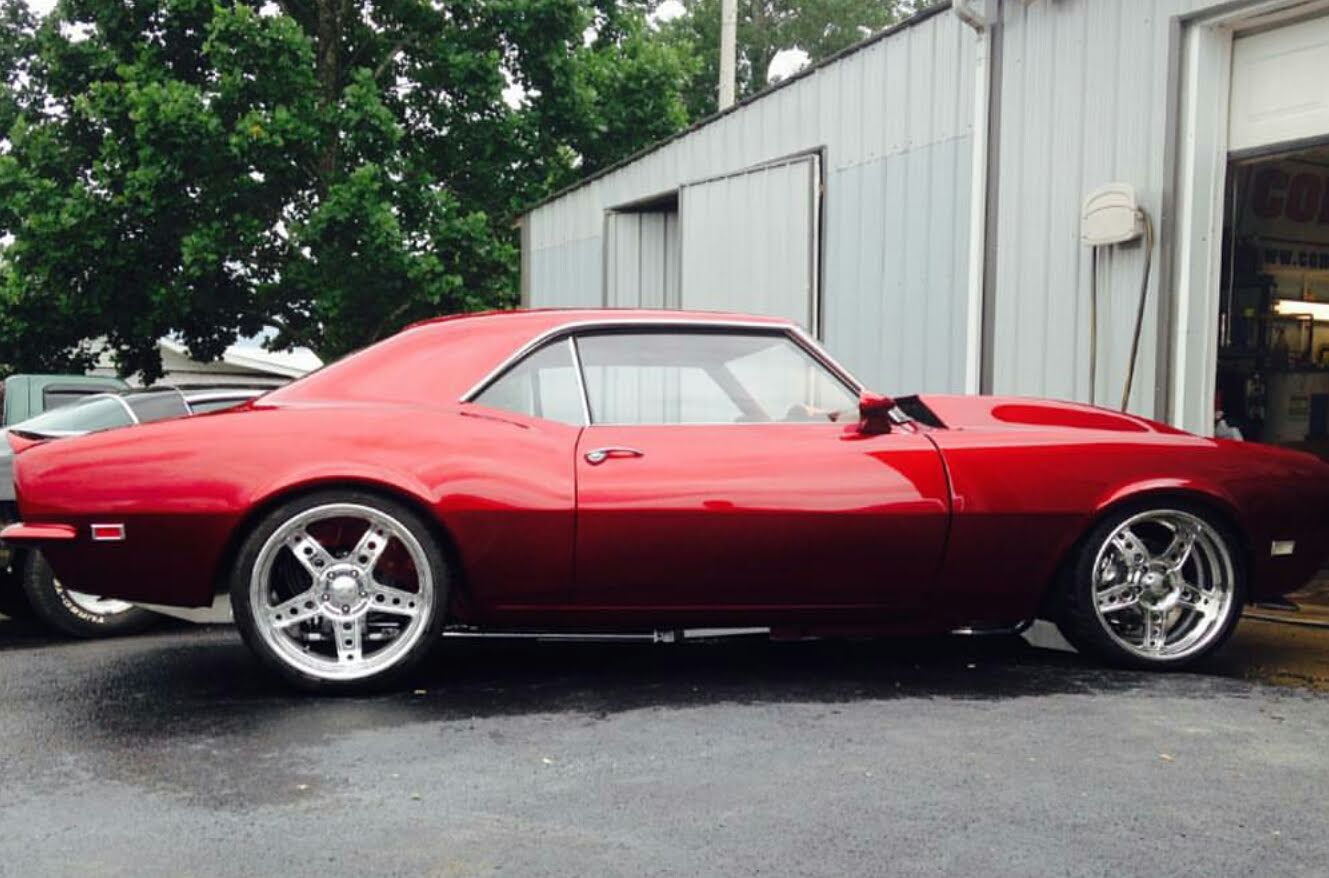
The panels underwent multiple intensive block-sanding cycles to level the high-solid primers and achieve laser-straight body lines. The vehicle moved into our controlled-environment down-draft paint booth for a multi-stage custom basecoat and clearcoat application. After curing, a meticulous hand-sanded cut and polish gave the finish a mirror-like depth. The body was permanently re-mated to its finalized chassis using fresh performance bushings and all-new heavy-duty hardware.
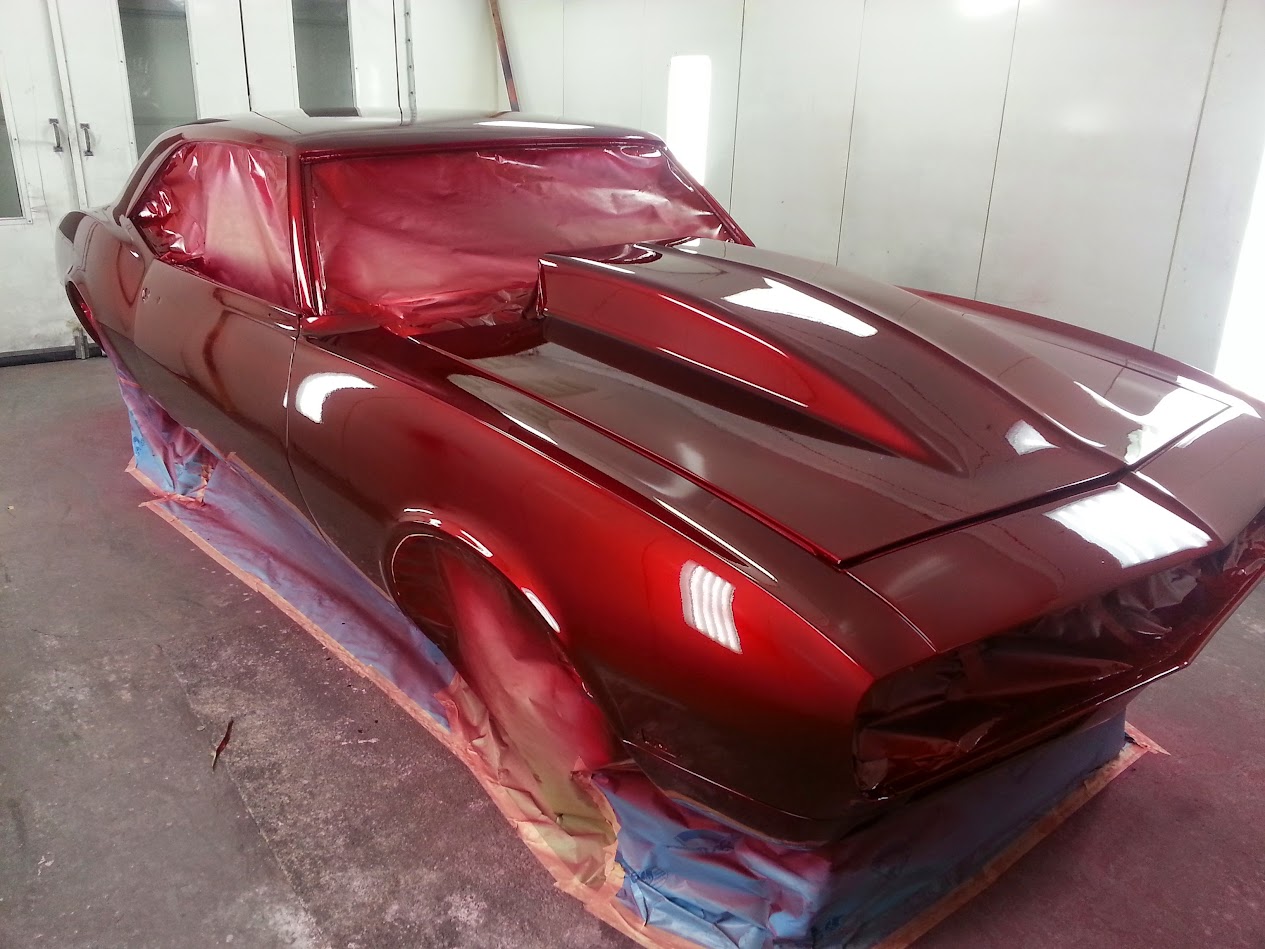
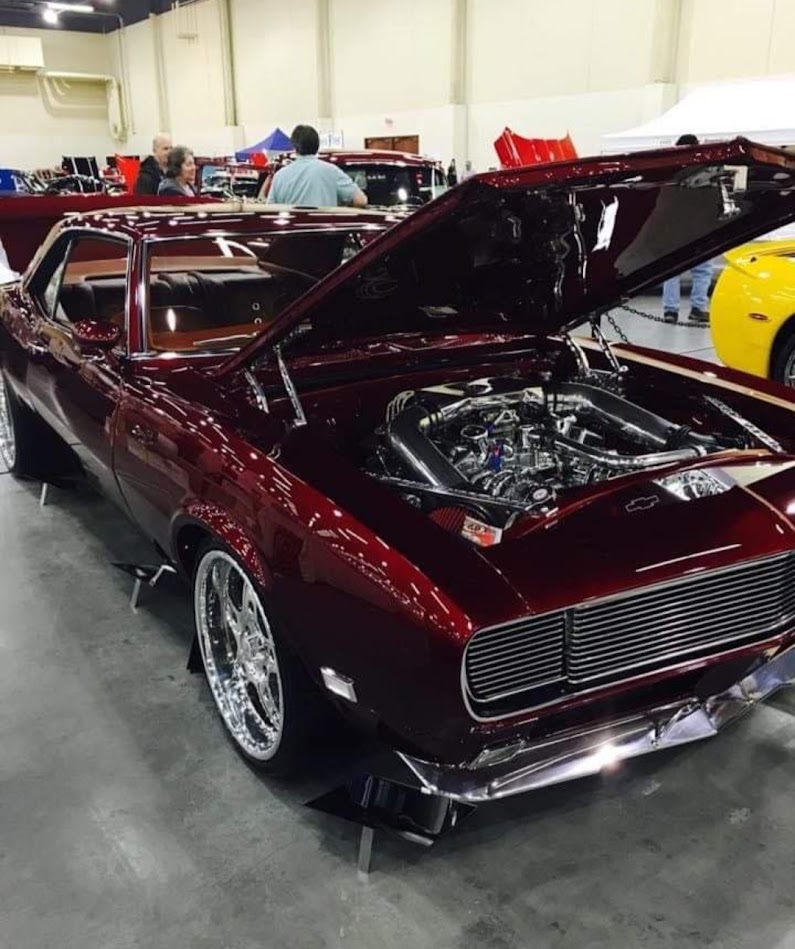
The Nova during surface finishing with its glass masked, followed by the finished black exterior in the shop.
Plan Your Restoration With GB Customs
Whether your classic needs a complete restoration or you are considering new paint over previous bodywork, start with a conversation about the condition of the car and the preparation it needs.
Contact GB Customs in Corbin, Kentucky, to discuss your project, or call (606) 528-6824.